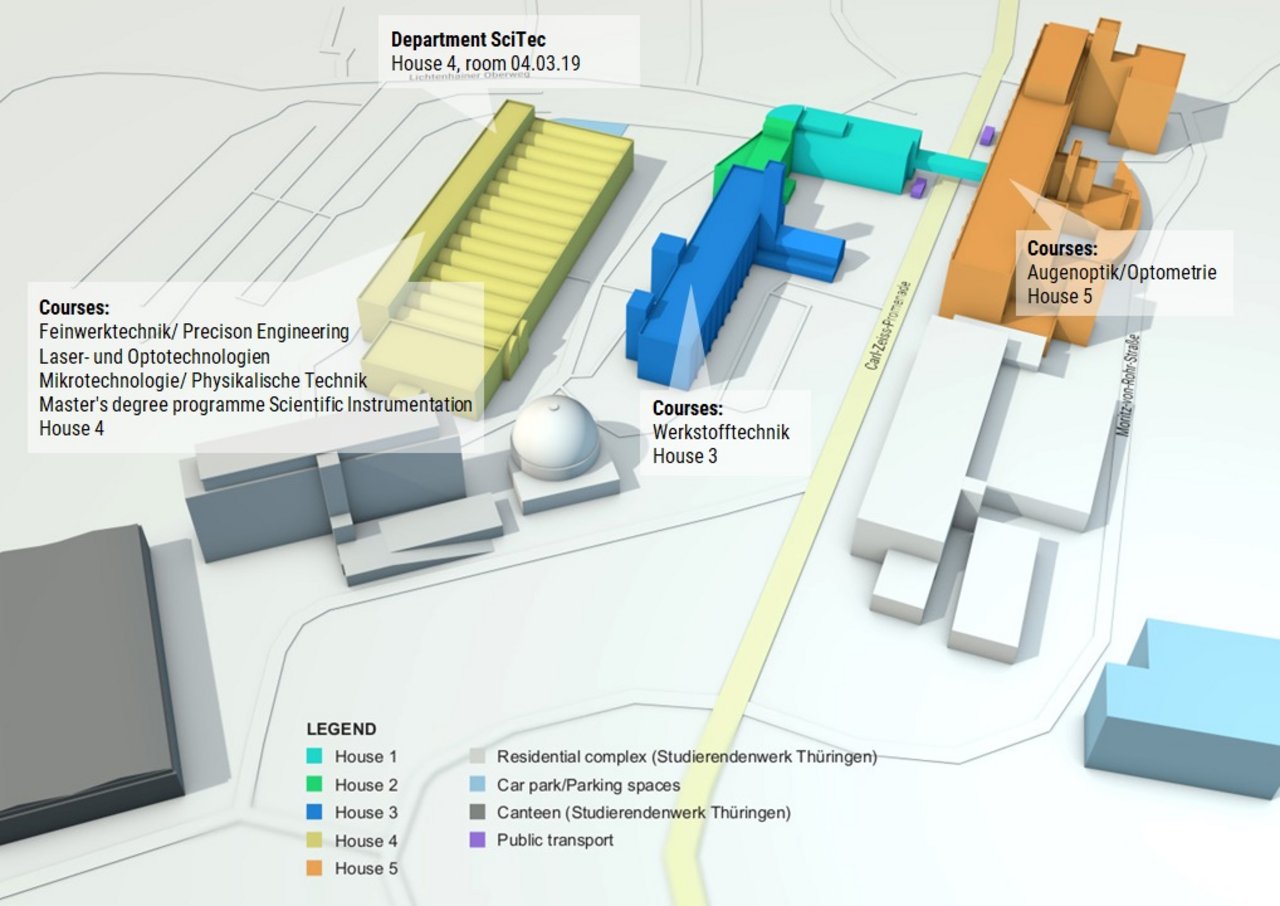
Metallic construction materials
The Ernst Abbe University of Applied Sciences is working on various topics in the field of construction materials:
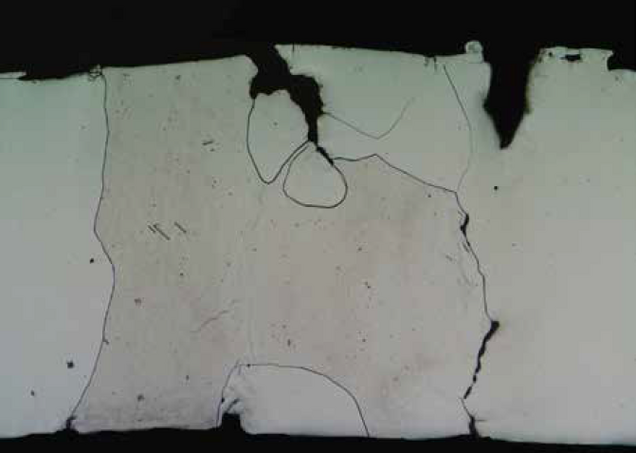
On the one hand, metallic materials for high-temperature applications are being developed in close co-operation with industry. On the other hand, the focus is on the development of new types of metallic materials for components subject to wear. Both topics require a detailed characterisation of the materials with regard to mechanical properties, application behaviour and structural design. Damage analyses are also carried out.
High-temperature materials
High operating temperatures play an important role in many areas of application for metallic materials. Outstanding examples include energy technology, aerospace, the glass industry and medical device technology. Very often, the stress conditions are very complex, i.e. in addition to high operating temperatures, corrosive conditions also influence the material behaviour.
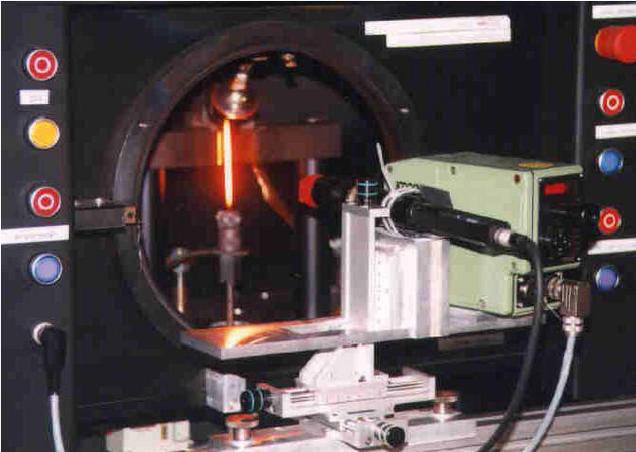
Work in the field of metallic high-temperature materials includes development projects with material manufacturers as well as a wide range of investigations into material behaviour at very high temperatures. The determination of mechanical high-temperature properties in hot tensile or creep tests serve as a basis for material selection and for simulating component behaviour under operating conditions.
Experimental possibilities
- Hot tensile tests under normal and inert gas atmosphere (up to 3000°C)
- Creep tests up to 3000°C in normal and inert gas atmospheres and in a vacuum
- Corrosion tests in molten glass or in a melting glass batch
- glass batch
- High-temperature wetting tests up to 1700°C
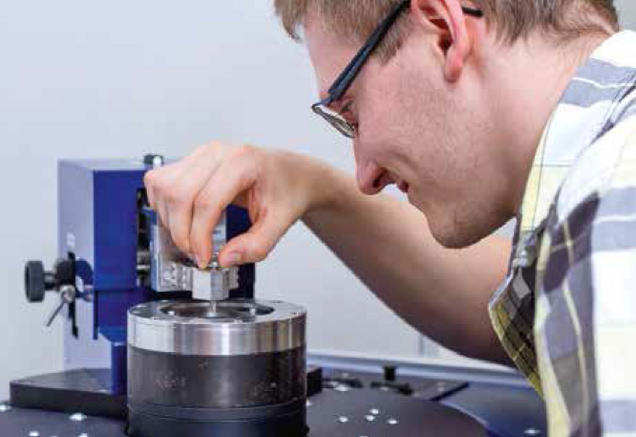
Photo: Inka Rodigast
Materials for components subject to wear
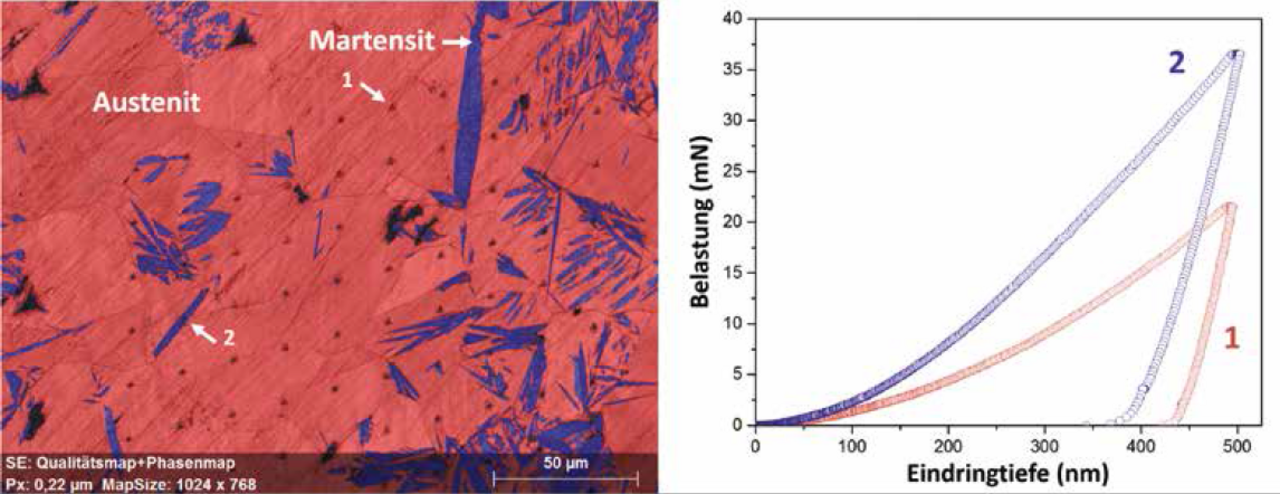
Many components are subject to high tribological stresses during use. Reducing friction and wear during use enables considerable savings in energy and material consumption. The aim of the work in this field is to utilise new materials and/or coatings for components subject to wear and to evaluate their potential for given applications. To this end, the materials or components are first subjected to defined loads in wear tests and then comprehensively analysed. The research interest lies in particular in the characterisation of the changes in phase composition and mechanical properties caused by the wear stress.
Experimental possibilities
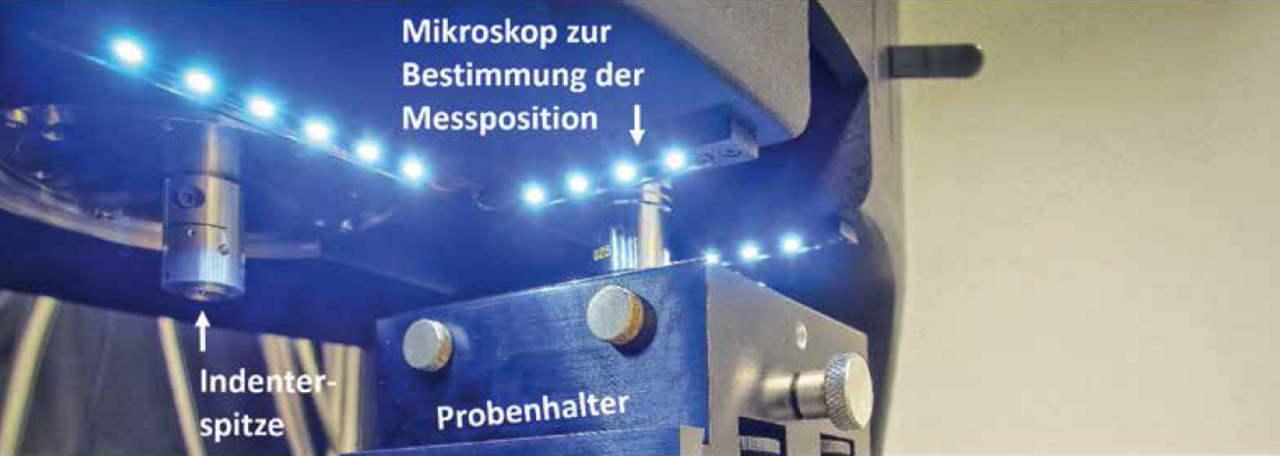
Various methods are available for carrying out wear tests. In addition to classic pin/ball-on-disc and pin-on-drum tests, wear analyses and scratch tests can also be carried out using nanoindenters and scanning probe microscopes. The latter are particularly suitable for phase- and location-specific characterisation of the wear behaviour.
Characterisation of construction materials
In order to ensure a comprehensive and high-quality characterisation of the materials, a variety of investigation methods are used. A key focus is on analysing the relationships between the structure, microstructure and properties of the materials. In addition to a wide range of metallographic preparation methods, light and scanning electron microscopy are available for this purpose, as are classic methods for testing mechanical material properties. X-ray methods for structural characterisation and non-destructive material testing methods are also available for extensive research work as well as for damage analyses and to support medium-sized companies in solving material technology problems.
Equipment
- Light microscopy
- TS1500 heating stage for high-temperature microscopy
- Tensile/compression testing machines (20 kN and 100 kN)
- Dynamic materials testing (pendulum impact testers with 50 or 300 joules of impact energy)
- Macro hardness measurement according to Brinell, Vickers and Rockwell
- Low load and microhardness measurement (F =10 p to 1 kp)
- Recording microhardness measurement using Fischerscope HM2000 (load range: 0.4 mN to 2 N, load resolution < 40 μN, displacement resolution < 0.1 nm)
- Nanoindentation using Nano Indenter G200 (load range: 200 nN to 500 mN, load resolution < 50 nN, displacement resolution < 0.01 nm)
- X-ray diffractometry (Bruker D8 Discover/ Advance)
- Scanning electron microscope Zeiss Ultra 55 (EDX, EBSD)
- Keysight 5600LS scanning probe microscope (AFM, MFM)
- Ultrasonic testing
- Eddy current testing

